

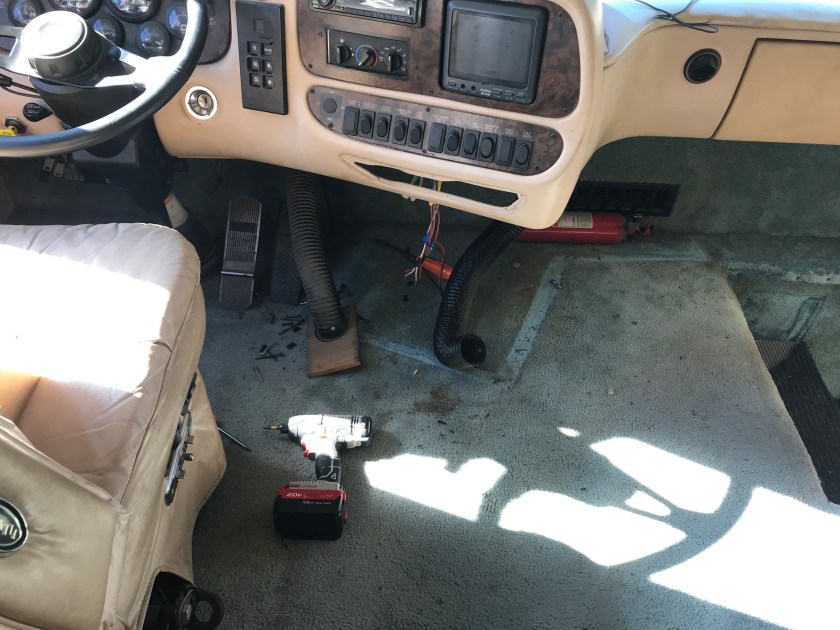
Waldo is over 20 years old and although he is in pretty good condition, but his interior age was really starting to show. One of our goals last year was to make enough money between trees and fireworks to do some remodeling. So it was time to update things a bit.
Out with the old…

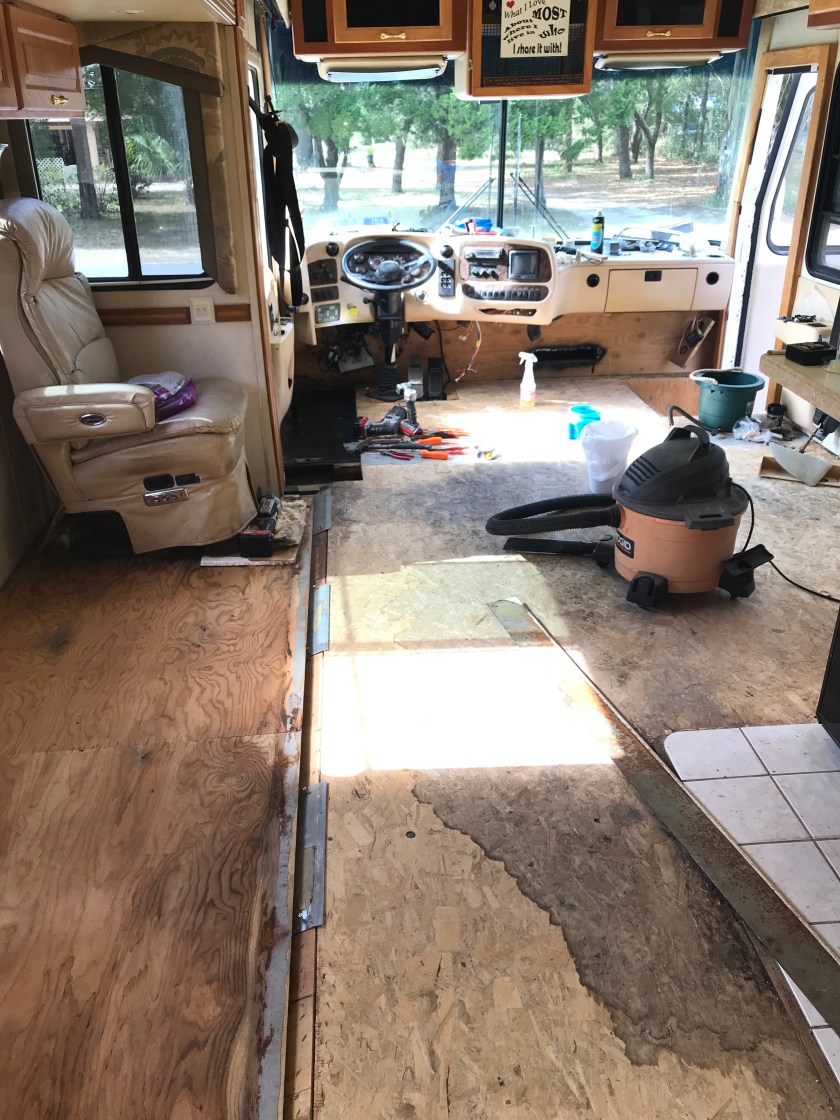
While I’ve done lots of construction projects, laying carpet is something I’ve always avoided. Removing the old carpet was pretty straight forward. I just sliced an area big enough to get my hand into and started ripping it out. It was actually quite satisfying. First the slide…

Then, the main living space…
The biggest challenge was getting the carpet out from under the slide. There is a 4″ x 13′ steel plate on the leading edge of the slide plywood, once Steve removed it, we could get to the steel plates the slide rollers roll on. By loosening the screws, we were able to remove the rest of the carpet…
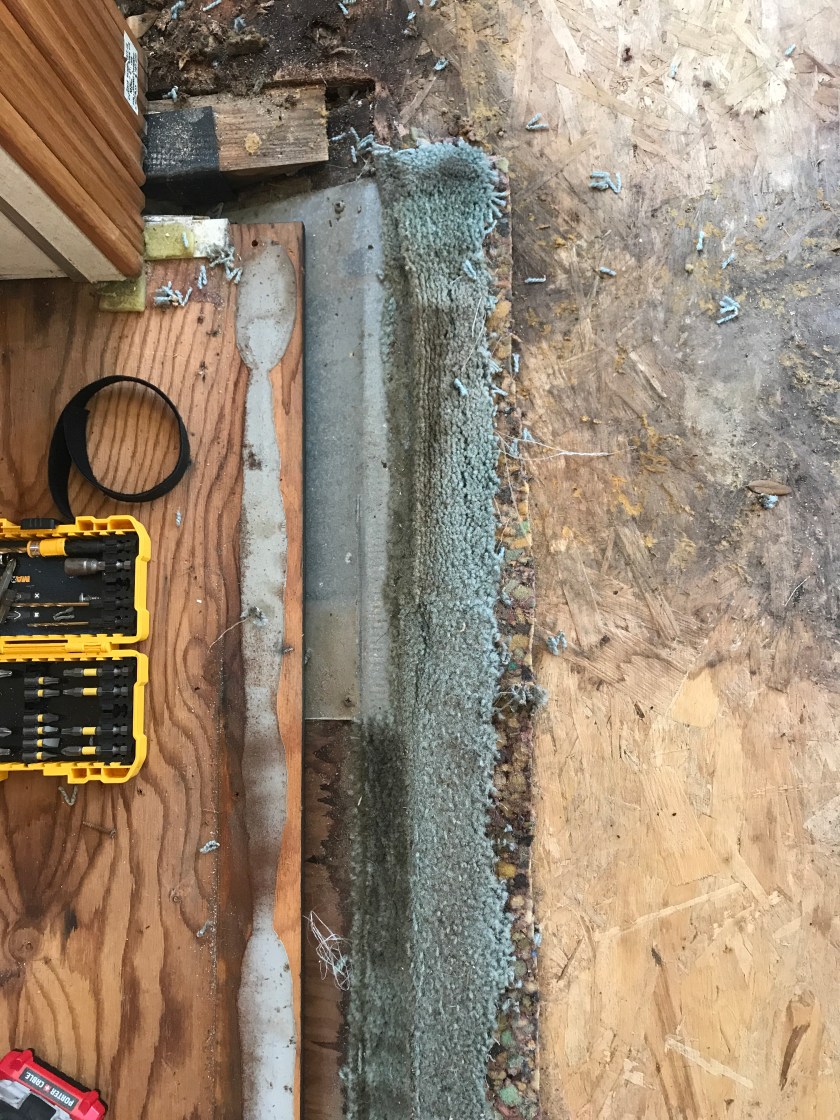
I had read lots of articles on replacing flooring in an RV and nearly all of them had one thing in common, be prepared to remove 1000’s of staples. I’m pretty sure the installers get paid by the staple. In a sticks and brick, carpet is held down by tack strips. Not so in an RV, it is stapled along every edge.
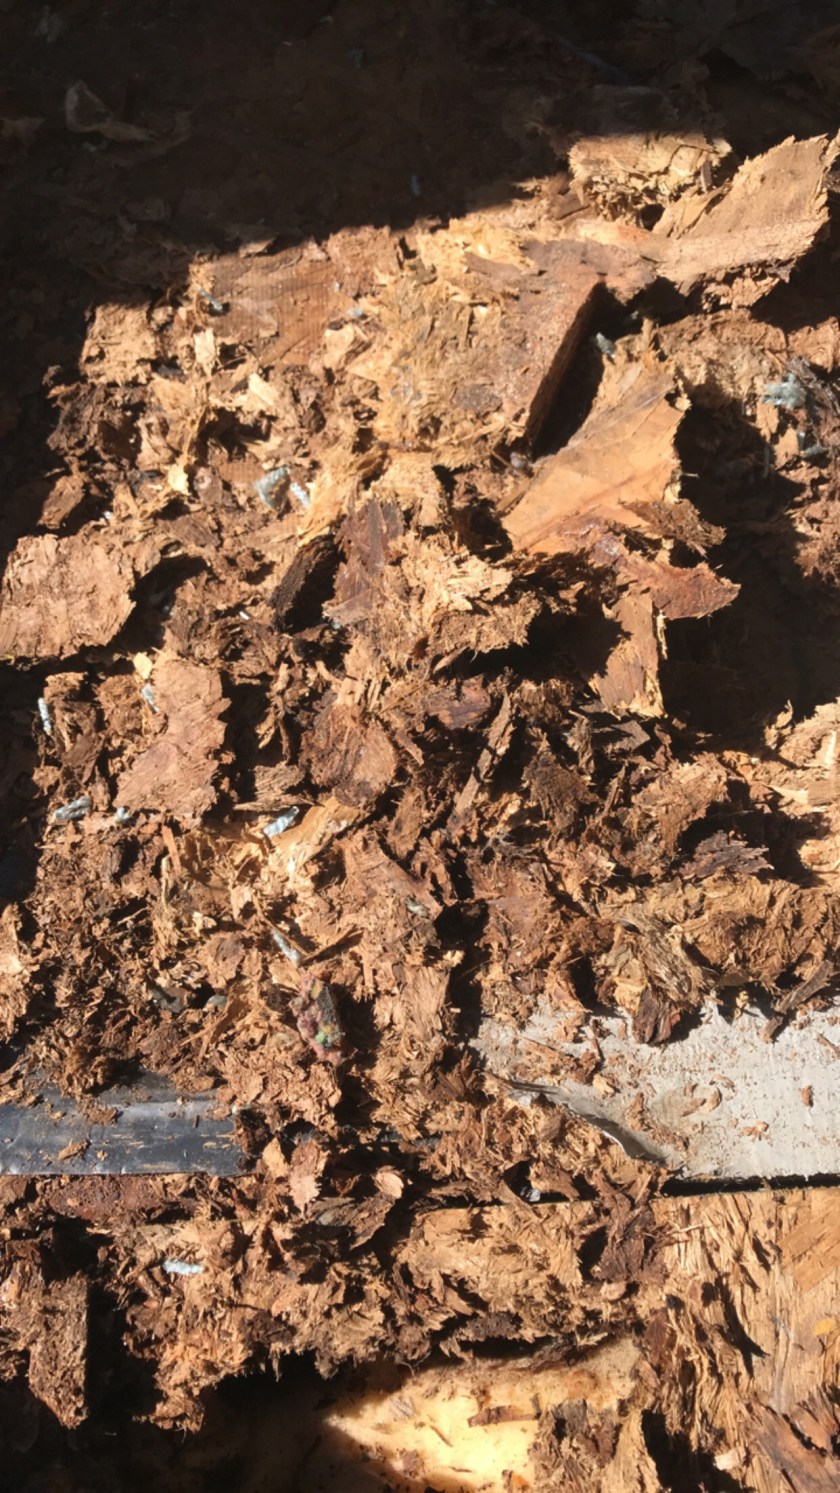
In almost every remodel, there is an “Oh crap” moment. Before we removed the old carpet, we had no idea of the water damage on the drivers side…
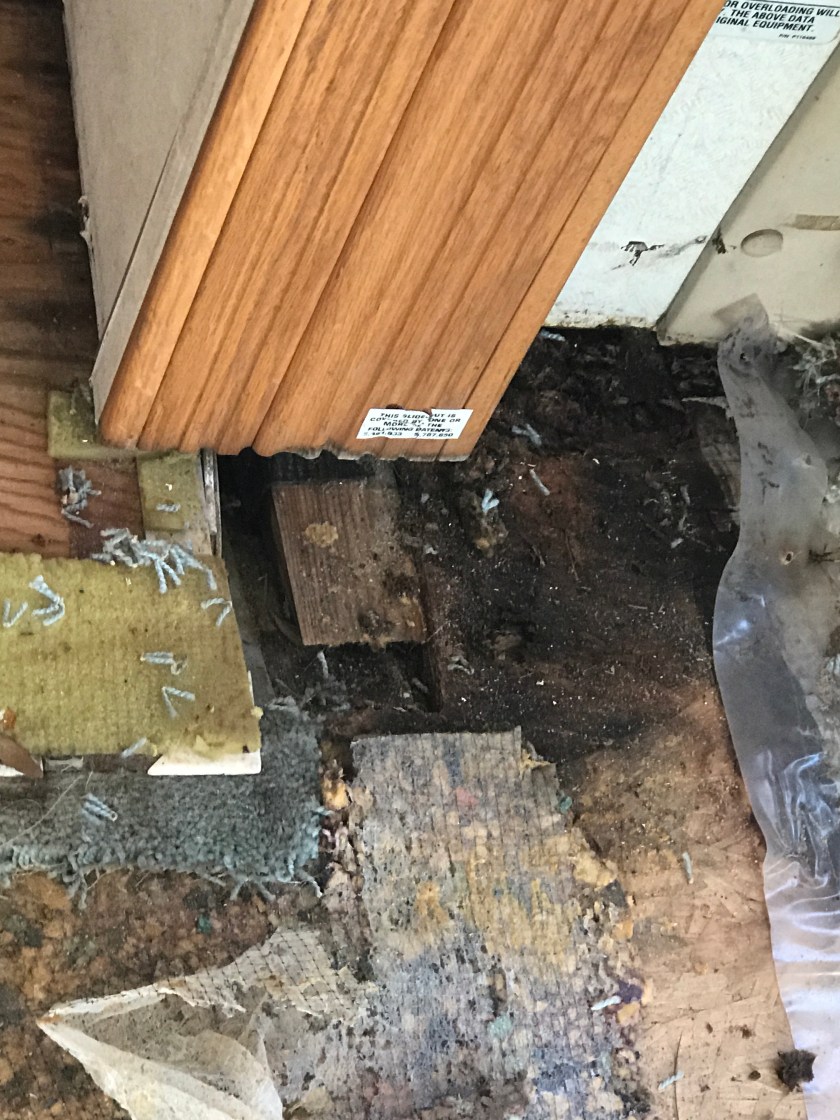
Ugh!! I was worried we were getting in over our heads. Once OSB gets wet (and stays wet) it begins to deteriorate…
We cut out all of the waterlogged OSB …

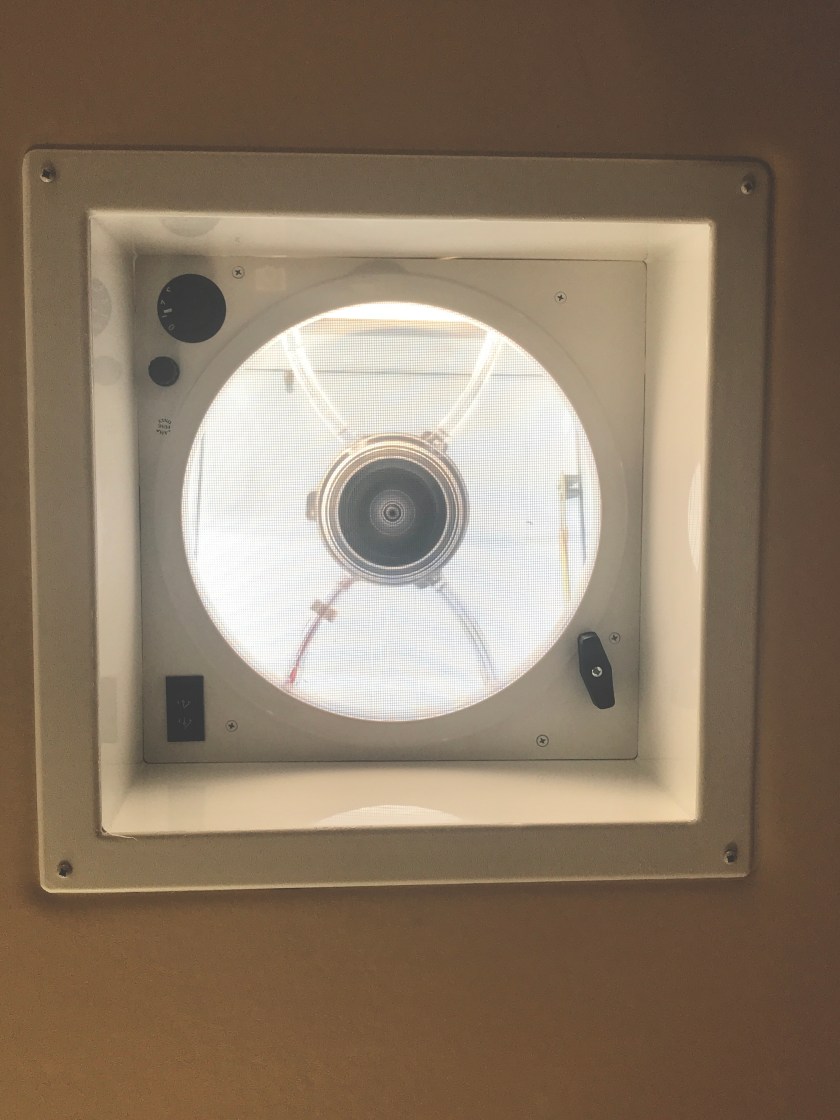
We replaced it with marine grade plywood. While we were down to bare plywood, it seemed like a good time to do a thorough cleaning of the walls, woodwork and ceiling. That was when I decided our old, non-working kitchen fan should be taken out. We found a replacement on Amazon…

Then it was time to lay the carpet padding…
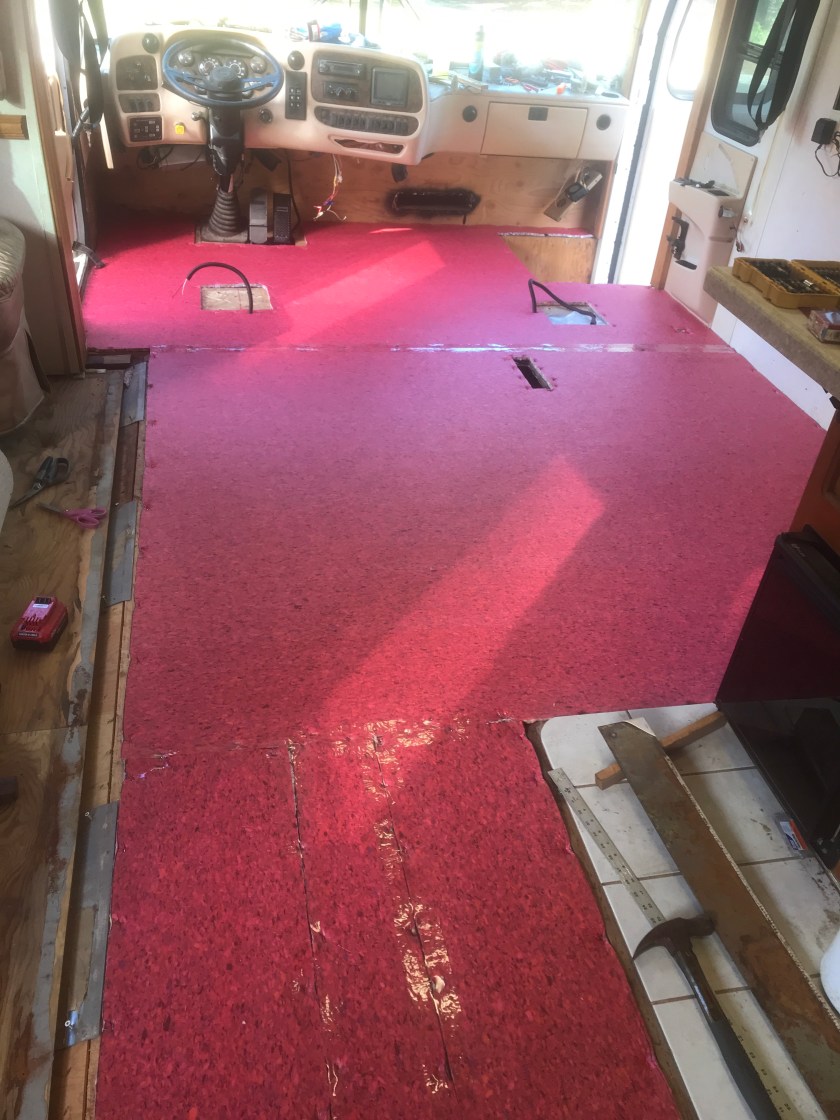
So far so good. Now to the part I knew nothing about! Carpet stretching. I’ve seen lots of carpet installed by worker crawling around on their knees, using a knee kick stretcher and while that works great when you are using a tack strip, not so much when you are stapling. The local Taylor Rental had a power stretcher (which I completely forgot to take pictures of) and it was just the tool for the job. I was shocked how much “stretch” there is in carpet! And the word “power” in the name power stretcher is a bit misleading, it doesn’t plug in or use any kind of electricity. Power comes from the mechanical advantage it uses. Once we started actually laying the carpet, it went fairly quick. Luckily, my dad’s neighbor had a crown stapler we could borrow. Stretch, staple, repeat. The biggest challenges were where the carpet meets the kitchen tile…

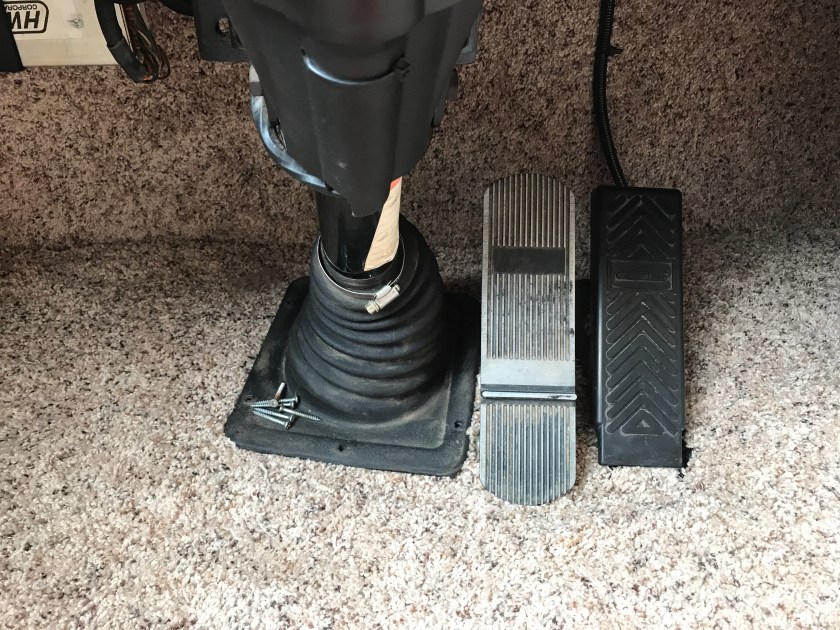
Where the carpet goes around the pedals and steering column…
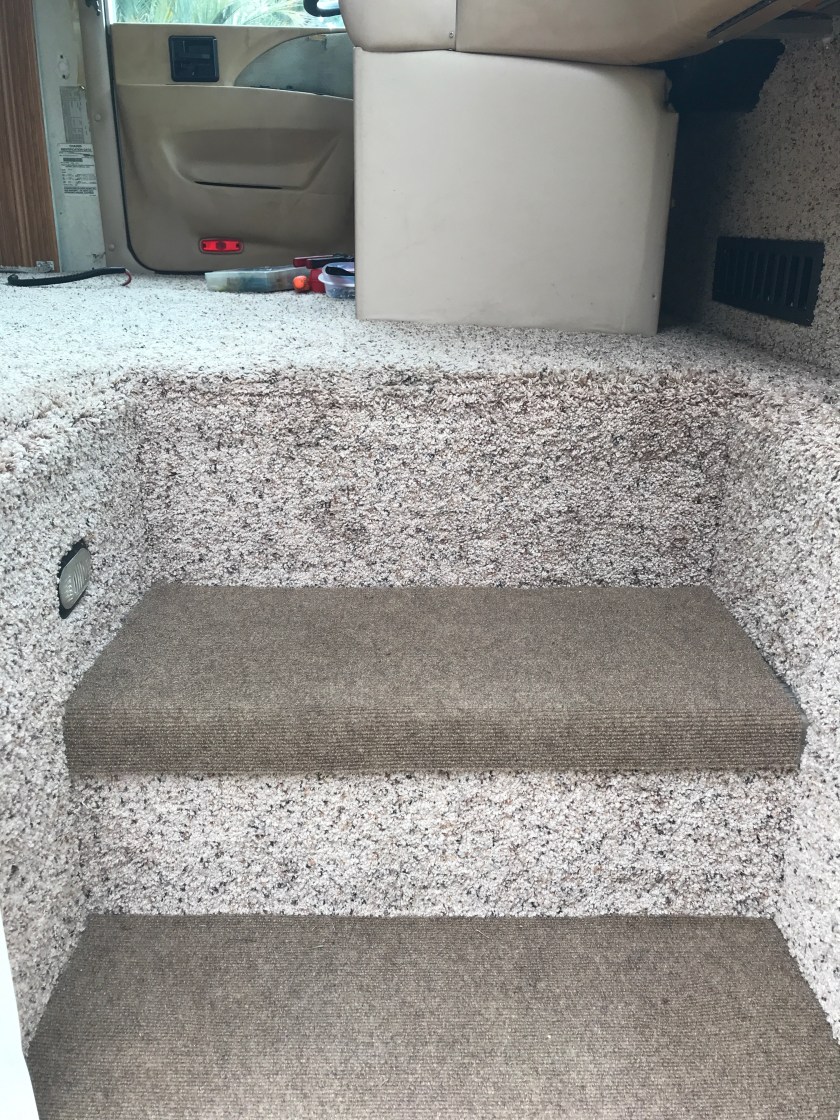
And where is meets the stairs…
With the main carpet done, we started on the slide. My biggest concern was what to do with the raw edge. The place we bought the carpet did not offer binding, then I read about Instabind…
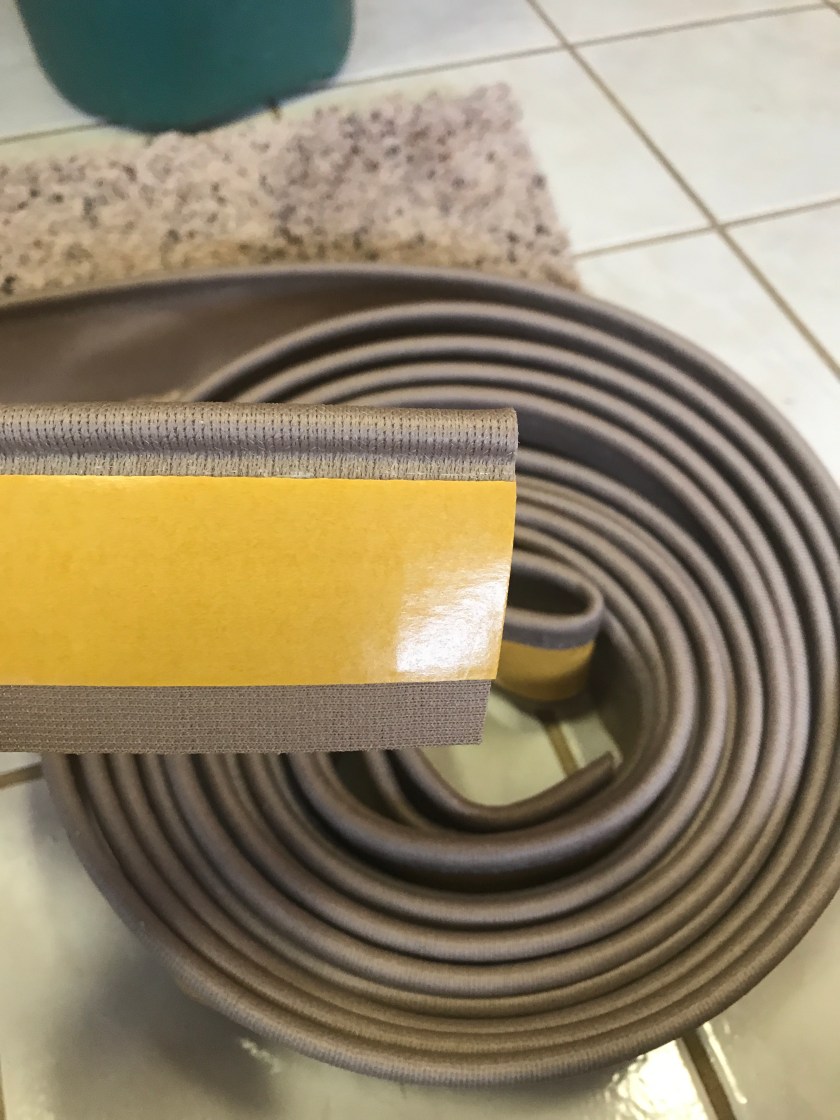
Nearly every review I read, suggested running an iron over the adhesive to improve the hold…

Once the binding is in place, you use a hot glue gun to prevent any fraying…

The finished job looks like this…

Then it was time to go shopping!! We wanted a loveseat recliner. I had a very strict set of criteria. It had to be cloth, wall hugging, non-electric, have a center console, be less than 80″ long and the back had to be removable. After visiting every furniture store in the area, we ended up traveling to Ocala, where we went to another dozen stores before finding one we liked. What sucked was, it had to be ordered. Fortunately, we had some finishing touched to do while we waited for it. Like find a desk for Steve…
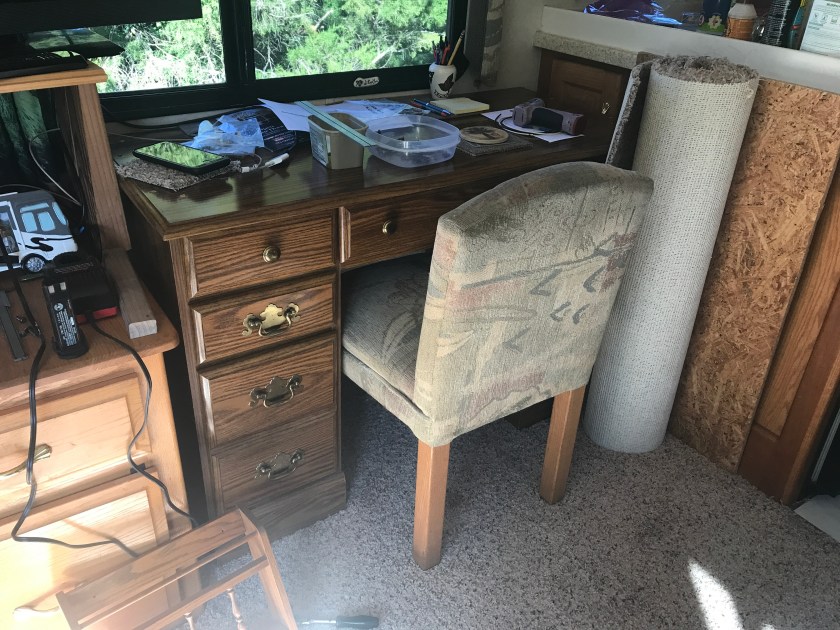
This area has dozens of thrift stores and we found this desk at one of them. For only $45!!!! What a deal!!! It’s a little darker than I would have liked, but hey, the price was right! Our loveseat ended up coming in a week early and we drove to Lakeland to pick it up (because I refused to pay a $70 delivery fee). We manhandled it through the drivers door and got it set up…
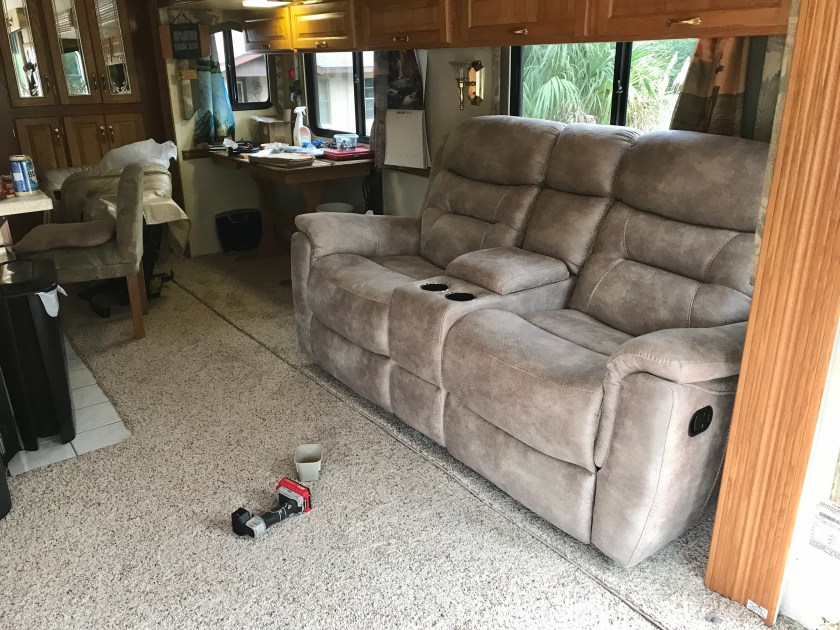
Wow, what a difference.
Originally, our plan was just the carpet in the main part of Waldo, but, on a whim, I went back to the carpet store to see how much it would be for a piece to do the bedroom. We had enough padding left over, so it would only be the price of the carpet. They had just enough left on the roll to do the bedroom and sold it to us as a remnant. $100 cash and carry – done deal!
There are corner tables next to the bed and I decided to modify them. They were total wastes of space because the inside was hollow, but closed off by paneling. I cut the front paneling and added a shelf…
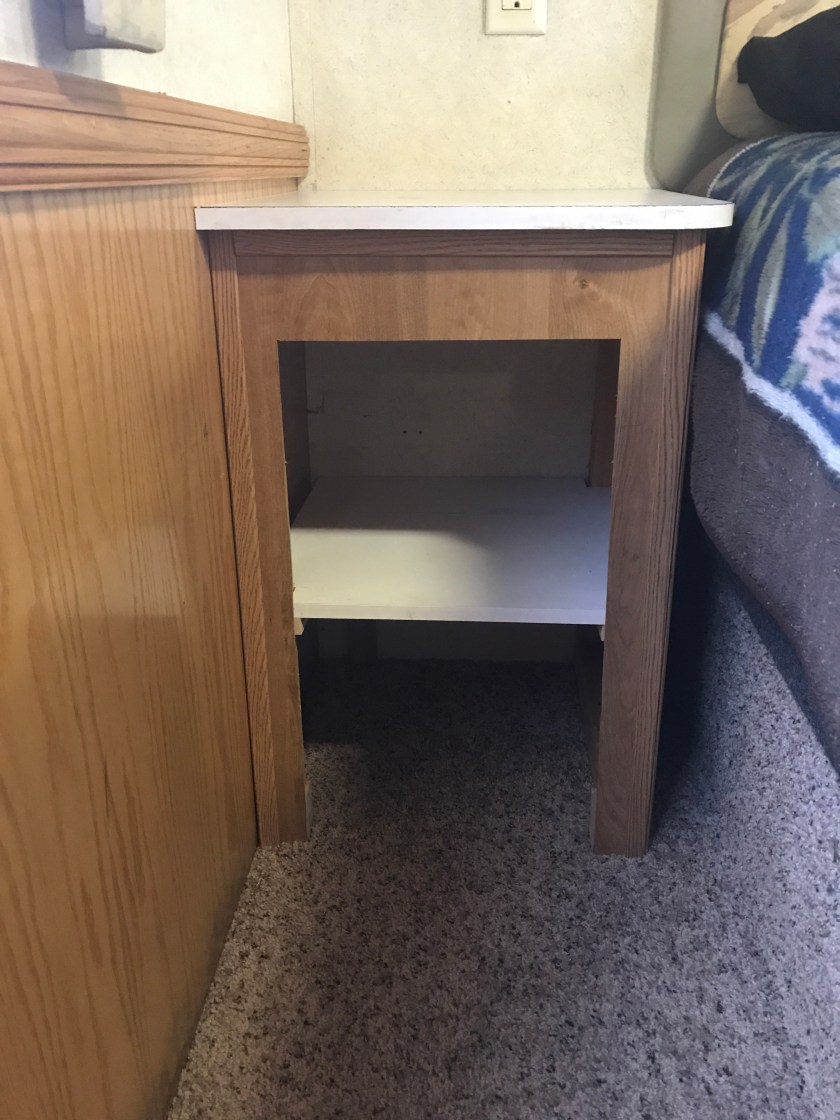
Voila – more storage!
So, now Waldo is completely done and we love it.
Have you ever remodeled your house? What was your biggest challenge?

Waldo is BEAUTIFUL! You guys did an AMAZING job. You are so courageous to undertake such a daunting task and then–NAILED IT! It’s so pretty, Laura!
LikeLiked by 1 person
Thank you Dawn, it’s so much brighter in there now. We are loving it!
LikeLike
Fantastic job. If you are real masochists you could do it for others.
Bill
LikeLike
Thanks Bill. Doing it once was enough for me! Although the place we bought the carpet said there is quite a need for RV installers.
LikeLike
Beautiful. I am totally impressed AND will never attempt it myself. Congratulations!
LikeLiked by 1 person
Thank you. It wasn’t as hard as I thought it would be. Renting the stretcher made all the difference!
LikeLike
Wow, I’m extremely impressed!
Great job!
Happy new adventures to you!
LikeLiked by 1 person
Thanks!
LikeLike
Waldo really looks fantastic! You guys did a great job and this post is helpful to any of us considering taking on this job ourselves. It’s certainly a little scary, but it would save a ton of cash. Nice job! Love the new sofa too!
LikeLiked by 1 person
Thanks Laura. Doing it ourselves did save a bunch!
LikeLike
Wow what a difference! You did such a great job and it looks so professional. We have done several renovations. The biggest challenge for us is dealing with contractors who say it will take a certain amount of time but in reality it is much longer.
LikeLiked by 1 person
In my experience, projects always take longer. At least when you are paying by the job and not the hour, it is only the inconvenience of the time.
LikeLiked by 1 person
And thank you!
LikeLike
Laura, this looks like a big job, but WOW, what a transformation. I’ve never thought about doing a reno on an RV, but this certainly qualifies. In all our house renovations, one of the hardest things is maintaining at least one living space that isn’t a total wreck so we have somewhere to relax at the end of the day. I imagine this is a real challenge in a small, RV space. Looks great. ~James
LikeLiked by 1 person
Thanks James. We were lucky to be parked at me dad’s house, so we slept there while Waldo was in such disarray. It would have been much harder if we were living in it at the time. Loving the new look and feel!
LikeLiked by 1 person
Wow, that was a big job! Looks great!
LikeLiked by 1 person
Thanks! Can’t wait to be mobile again!
LikeLiked by 1 person